A few weeks ago, Facebook business pages started asking me to add them to my interest lists. Since I had just learned what an interest list was, I worried that simply telling my own friends to "add me to your list" wouldn't be very helpful. That's why I created this tutorial album on Facebook to show how to create your own interest list. I'm posting the details below in case you need some help, too.
If you're wondering why you should bother to create interest lists, I think there are a few really good reasons. Interest lists save you time by allowing you to group related pages and friends, making them easily scannable if you're looking for a particular post or type of information. Interest lists also show you all of the posts from the pages and people on the list. So interest lists let YOU decide what's important or interesting—not Facebook (which is sorta how I think all of this is supposed to work). If you want to know how to set up a list, please follow these steps.
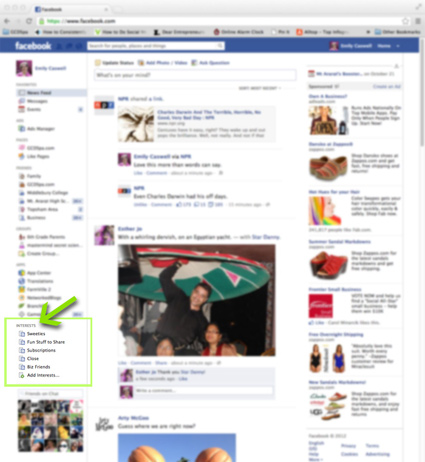
Your Facebook wall might look a little like this picture below. See the green arrow? That's where your Interests live. Click on the word Interests.

Once you've clicked the Interests link, you'll get to this screen. Here you see my lists (clearly I need more, right?). If you want to set up a new one, click the "+Add Interests" link in the upper right.
After clicking "+ Create List" a window will open (sorta like this one below). You can choose from pages, subscriptions, and friends, or search through a list of categories to add new things to your list. Click the next button (see the arrow) when you're finished.
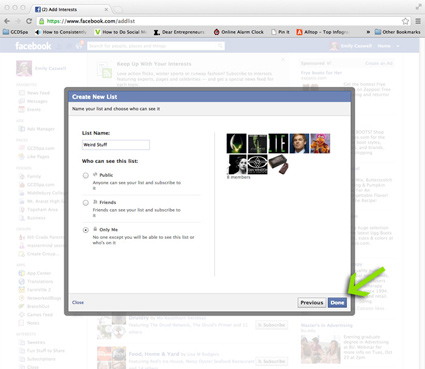
The final step is naming your list and deciding who else can see it. Save it and then go back to your wall and see your new list added under the "Interests" on the left side (check out the first screen picture above for a reminder of where to find them).
 When you click one of your interest lists, all of the posts from all of the pages or people on that list will appear on your wall. It's a custom feed of everything they've posted.
It's super easy to add new pages to the lists, too. When you "like" a new page (or if you want to add a page you've already liked), hover over the "like" button on their page (see the green arrow below) and choose "Add to interest lists" from the dropdown that appears. Then simply select the list you want to add them to.
As someone who maintains a business page, I find Interest lists really helpful. For example, if I want to share a Muppet post, I just go to the Interest list for all of my Muppety options. I use a "Sweeties" list for the cake and cookie pages I follow so I can quickly select confection inspiration. You could create lists to keep up with news from your kids' schools, your high school friends, business associates or trade organizations—you see how helpful they could be. And remember, you will get ALL of the posts from the pages you follow when you add them to lists, not just the posts that Facebook lets you see or the ones that page owners pay to show you. (At least right now that's how they work.)
Of course, this is why page owners are asking to be added to lists: it's the only way we can be sure that you'll see all the shoe cakes, lip balms, and Muppet Awesomeness that we choose to share. (If you like shoe cakes, lip balms, and Muppets, I hope you'll consider adding us to one of your lists, too.)
So that's how (and why) I set up lists. I'd love to hear about any tips or tricks that you've discovered, too.


No comments:
Post a Comment